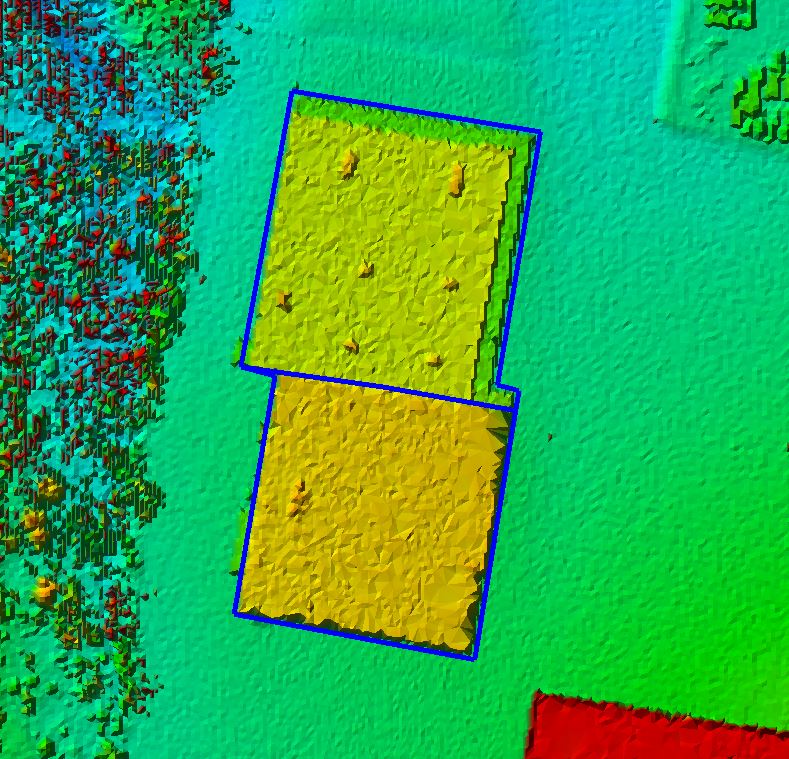
Sometimes a single feature may be more useful as multiple features (such as when the automatic toe extractor draws a single toe for a mixed pile). In these cases, you can use the Split Geometry ![]() command to split polyline or polygon features with a split line. In the Map Window, hold down Shift while editing to enable panning with the right mouse button and zooming with the left mouse button (or scroll wheel).
command to split polyline or polygon features with a split line. In the Map Window, hold down Shift while editing to enable panning with the right mouse button and zooming with the left mouse button (or scroll wheel).
|
Note: The primary difference between the Reshape and Split tools is the disposition of the data to the right half of the split line. With the Reshape tool, it is deleted. With the Split tool, it is converted to a new feature. |
1. To split the geometry of a feature, click the Split Geometry ![]() command on the Feature Edit Tab.
command on the Feature Edit Tab.
2. Click in the map close to where you want your split line to split a polyline. You will want to digitize the reshape polyline such that when you cross the feature boundary for the first time, the section you want replaced is to the right of your line. Note that on the Geometry tab of the Feature Edit Options Dialog, you may enter the tolerance distance value to use for removing any vertices that fall within that tolerance to the new split vertices. The removal of these vertices will take place after Step 3.
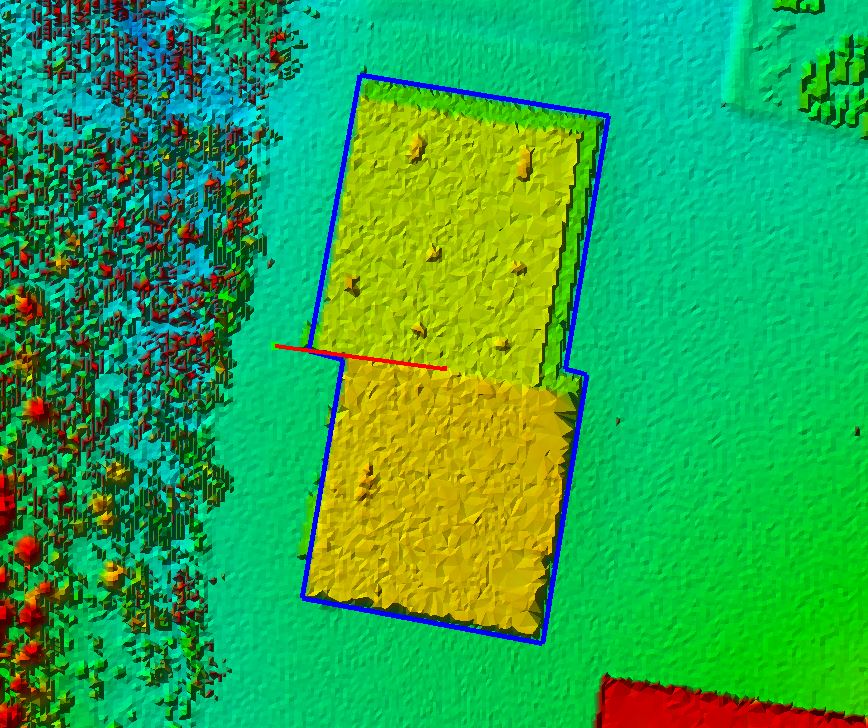
3. Double-click to finish the split operation.
|
Note: You will not be able to see the split in the case of a polyline. However, if you select it, you will see that there are now two (or more) polylines that are butt joined. |