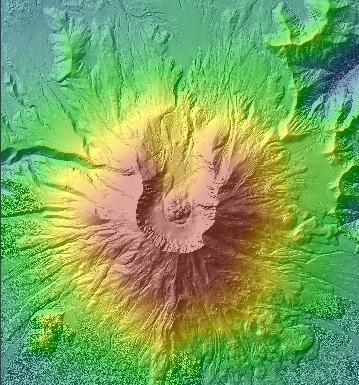
Shaded Relief Map using Hillshade or Brightness Values
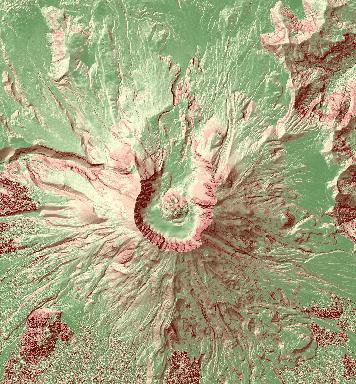
Map of Slope - High Slopes (Red) to Low Slopes (Green) blended with hillshade



LIDAR data may be converted into rasters or gridded data representing elevations, or even derived values such as slope, hillshade (brightness), aspect, or intensity. This may be useful for better viewing of the LIDAR data or modeling that requires raster inputs rather than vector-oriented inputs such as points or TIN surfaces. LIDAR data is exported in one of two raster formats: ASCII and Binary. These two formats are industry standards and can be used by ArcGIS™ or ArcView™ 3.x to import to an ESRI™ Grid format.
NoteIt is highly recommended to use binary rasters over ASCII rasters, as the file sizes will be smaller, and the export of the raster will always be faster using the binary raster format. |
Learn
more about ASCII Raster Files
Learn
more about Binary Raster Files
Grid cell values can also be stored in an ASCII XYZ file. The text file contains the easting (x coordinate) and northing (y coordinate) coordinates of the center of the grid cell, as well as each exported surface attribute> (i.e., elevation, slope, aspect, hillshade, intensity) as columns in the file separated by the specified delimiter.
Typically, elevation data is the value that is exported to raster files. However, other derived values from interpolated elevations such as slope, aspect, and hillshade can be exported as well. These derived values can be used in visualization applications or for modeling applications.
Shaded Relief Map using Hillshade or Brightness Values |
|
|
|
Map of Slope - High Slopes (Red) to Low Slopes (Green) blended with hillshade |
|
|
|
| Map of Aspect | |
|
|
Learn more about hillshades or brightness
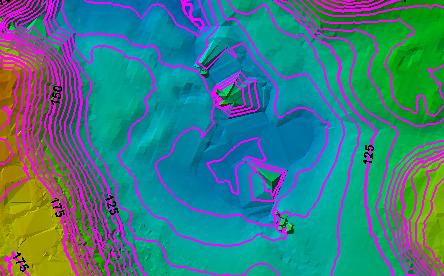
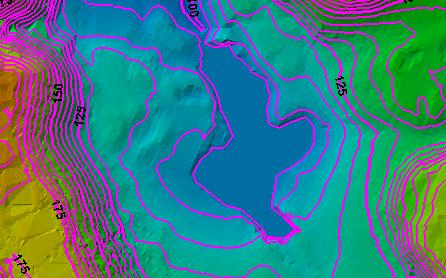
As a part of generating an elevation surface, breaklines may be used to enforce significant topographic breaks in the surface, such as stream centerlines or ridge lines. Breakline enforcement can significantly influence the aesthetics or functionality of a surface model. When exporting contours, the use of breaklines can provide a much more cartographic display of contour lines. Breakline sources can be any layer within the map that is suitable to be used as breaklines.
| Not using breaklines |
 |
| Using breaklines |
 |
Learn more about breakline enforcement
Open the LP360 Export Wizard by clicking the Export LIDAR Data command on the LP360 toolbar. The Export Wizard dialog will open with the Step 1 of 3 page displayed.

Click the arrow in the Export Type list, and select Surface.

Click the arrow in the Surface Method list and select either Triangulation (TIN) or Inverse Distance Weighted (IDW) as the surface method to export.
Learn more about surface methods
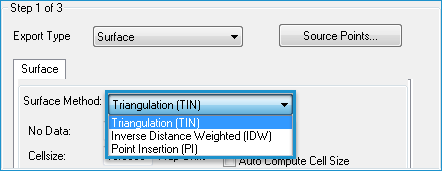
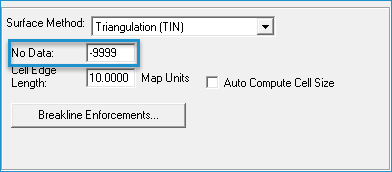
Enter a No-Data value for the raster files.
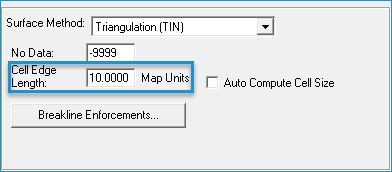
Enter a Cell Edge Length greater than zero Map Units or click the 'Auto Compute Cell Size' checkbox.
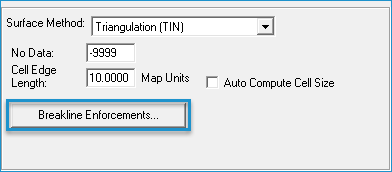
If you selected Triangulation (TIN) as the export surface method, click Breakline Enforcements to define the breaklines to export. The Breakline Enforcement Property Page will open.
On the Breakline Enforcement dialog, define which layers/sources to use as breaklines.
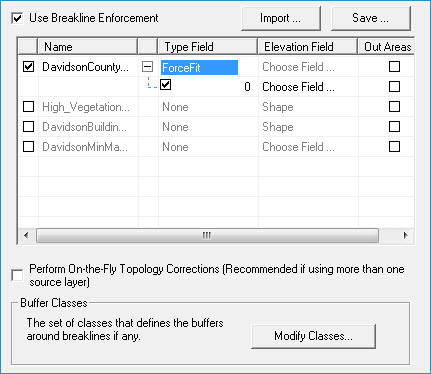
Click OK to close the Breakline Enforcement dialog.
If you selected the Distance Weighted (IDW) export surface method, do the following:
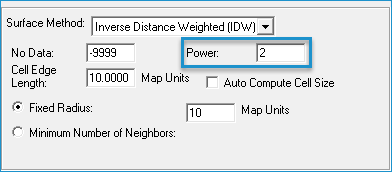
Enter a Power greater than zero.
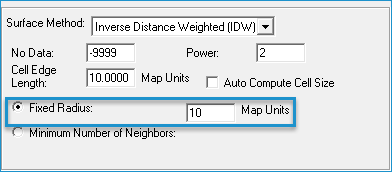
Select Fixed Radius and enter a radius value greater than zero Map Units.
OR
Select Minimum Number of Neighbors and enter the minimum number of points to use to interpolate elevations.
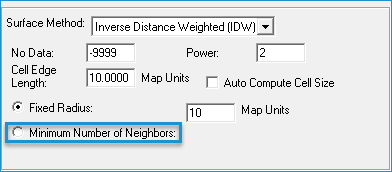
Also, if you are using the Minimum Number of Neighbors option, click the Maximum Search Window check box if you want to specify a maximum search window size, and then enter the value in Map Units. If you leave this check box unselected, the system will determine a maximum search window size using average point densities of the LIDAR data.

In the Surface Attribute to Export list, select the surface attribute(s) to export.
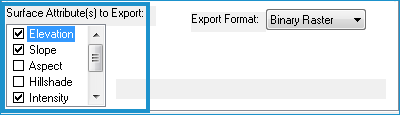
Notes
|
Click the arrow on the Export Format list, and select ASCII Raster, Binary Raster, ASCII XYZ, ESRI Binary Grid, GeoTIFF, IMG, or Cloud Optimized GeoTIFF. (The "ESRI ArcGrid" option is only available in the LP360 ArcGIS extension.)
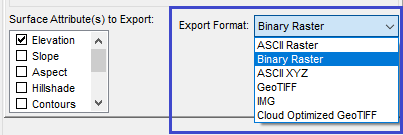
If exporting to ASCII XYZ text files, click the Include Headers in File(s) checkbox if you want to include the column names for each exported attribute on the first line of the text file. Then select the Delimiter (i.e., comma, space, or tab) to use for separating the columns in the text file.
Tips
|