Calibrate IMU and Compass after updating new firmware for AV900
If AV900’s firmware is updated, it’s recommended that the IMU and compass should be re-calibrated. Here are the step-by-step instructions to re-calibrate them:
Prepare the Drone
- Insert and secure the battery into the AV900
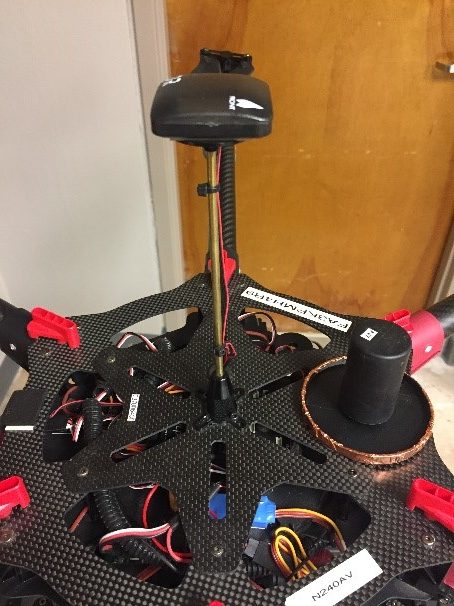
- Raise and secure the GPS/Compass (fig. 1)
Figure 1. The GPS/Compass must be raised straight up and secured
c. Raise all the props and identify the front of the AV900 – on the top of the GPS/Compass, there is an arrow sign show the front of AV900. Also, the front of AV900 is marked by two red props.
Figure 2. Identify the front of AV900
d. Turn on the AV900 and connect to it using Mission Planner (MP) through telemetry radio
Calibrate IMU
- In MP, under Initial Setup->Mandatory Hardware, select Accel Calibration
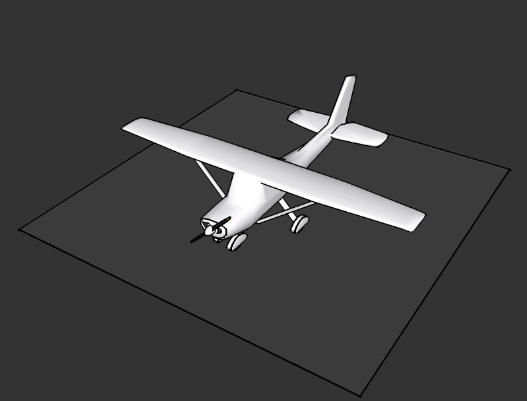
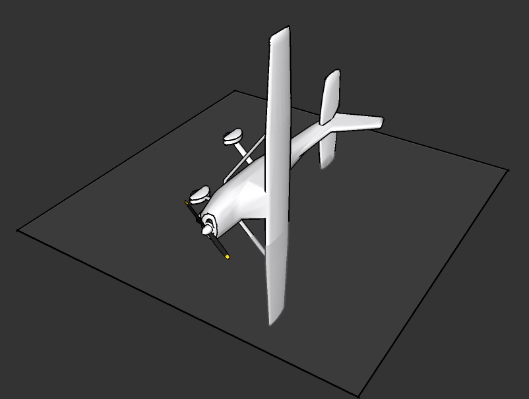
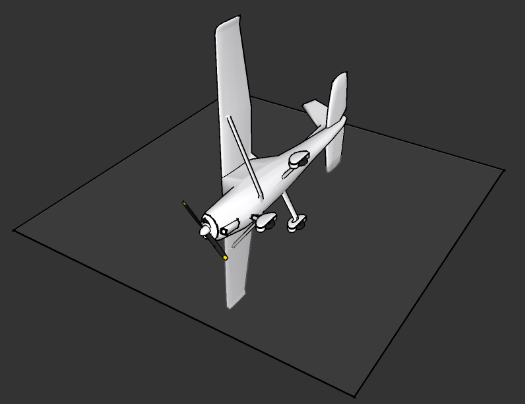
- Click Calibrate Accel and then follow the prompt of MP to place AV900 at each calibration position. The positions (in order) are: level, left side, right side, nose down, nose up, and back side. The calibration process requires the user to hold the drone as still as possible while someone clicks any key on the laptop to go to next calibration position. Hence, it’s best done with two people.
Figure 3. Level position
Figure 4. Left side position
Figure 5. Right side position
Figure 6. Nose down position
Figure 7. Nose up position
Figure 8. Back side position
c. Wait to see the Calibration successful notification from MP. If the calibration fails, re-do the calibration.
d. Disconnect MP and cycle the AV900 battery power before next step.
Calibrate Compass
- In MP, under Initial Setup->Mandatory Hardware, select Compass
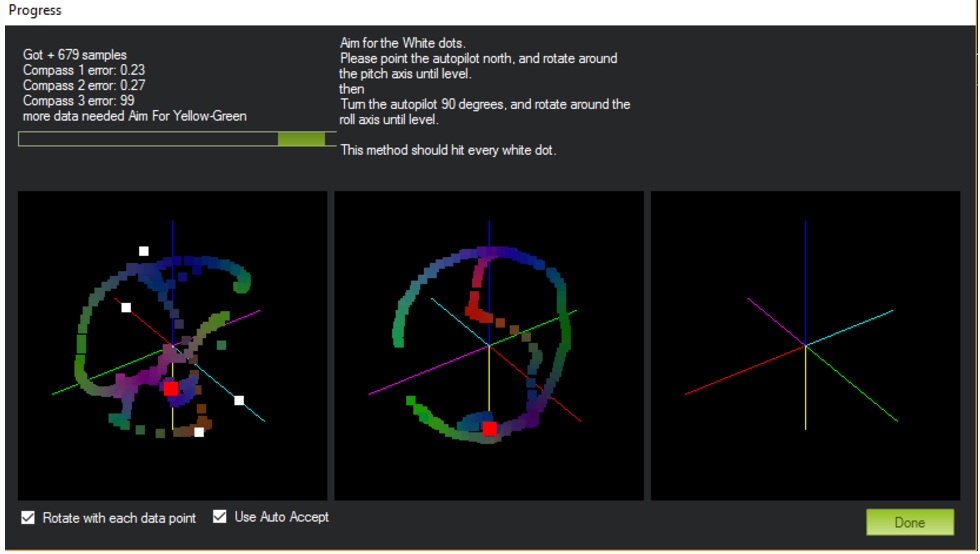
- Click on the Live Calibration button found on the bottom left of the screen.
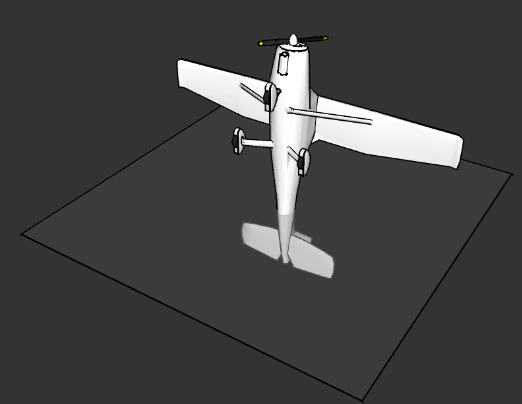
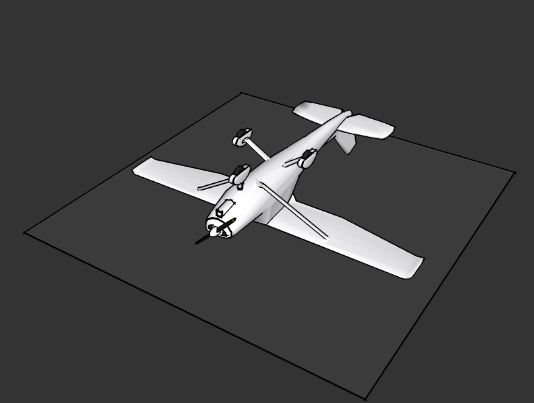
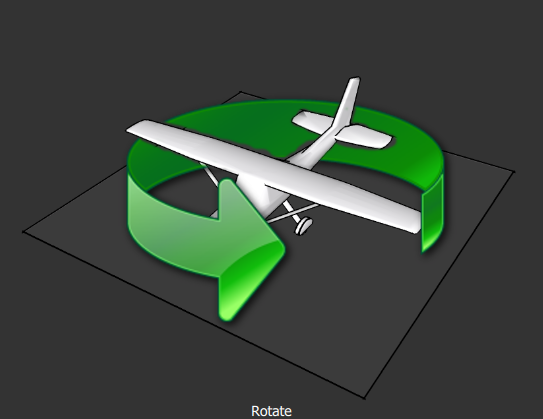
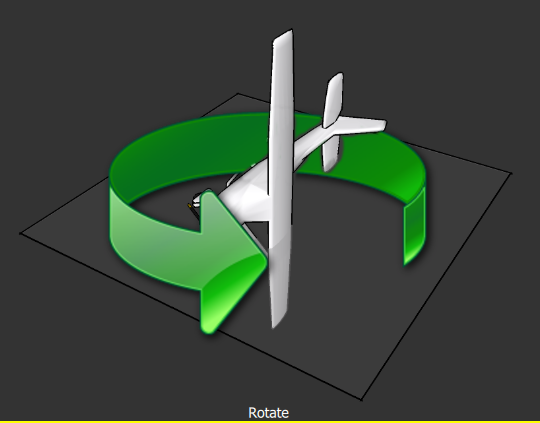
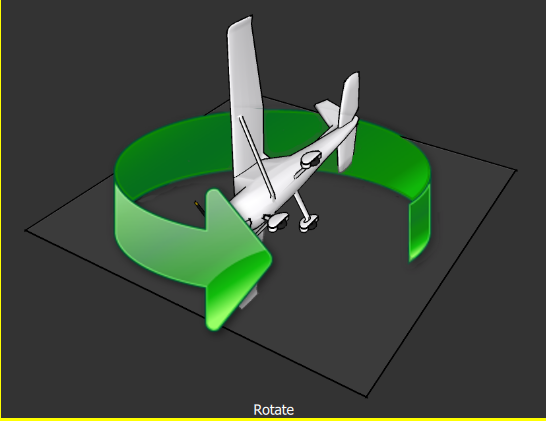
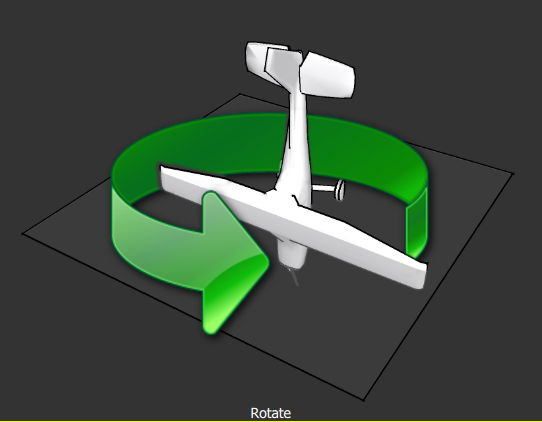
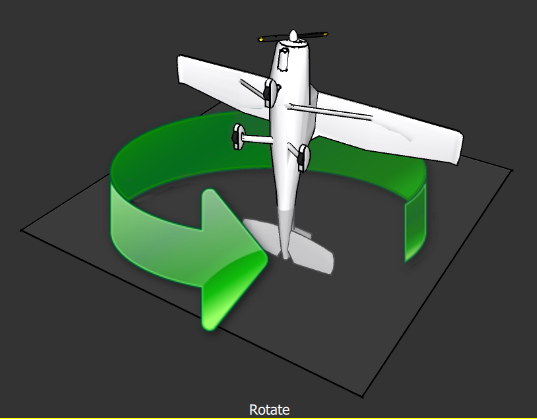
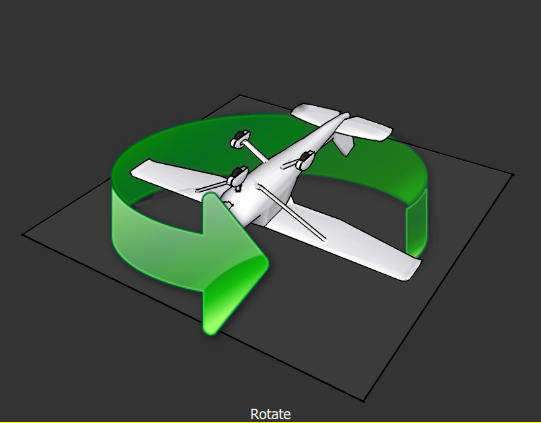
- A window should pop-up showing the state of the live calibration. Put the AV900 in each calibration position (again: level, left side, right side, nose down, nose up, and back side) and slowly rotate the AV900 two turns in each position. (It may be easier to hold the drone in the desired position, while rotating your body – See video:
Figure 9. The live calibration window
Figure 10. Level position
Figure 11. Left side position
Figure 12. Right side position
Figure 13. Nose down position
Figure 14. Nose up position
Figure 15. Back side position
d. After the calibration is successful, wait until the window appears asking you to save the new offset to compass. If the calibration fails, redo the calibration.
e. Disconnect MP and unplug the AV900 battery power.
