Applanix POSPac UAV is the desktop version that TrueView 3DIS system owners get when they purchase a classic TrueView system. TrueView rental, flex, traditional, and “as a Service (aaS)” systems must use POSPacCloud to process sensor trajectory solutions.
To use the provided POSPac UAV license key to install and setup a local POSPac License Server for your company network, TrueView owned/classic system owners should:
- Download the compatible version of POSPac UAV by logging into your company’s Reckon account, using the credentials provided in your initial licensing e-mail, and browsing for the Downloads -> Software list.
- Installation and activation instructions can be found at: Applanix POSPAC UAV instructions for Network (server-locked) software license.
- Before activating your license, please review Appendix A in the LP360 Drone Users Guide for detailed information.
Installs performed by an Admin and used by a non-Admin, or several users on a machine
After the initial installation on a machine, POSPac must perform a short install for every user before they may use POSPac, either through the GUI or through the integrated process used by LP360 Drone. Similarly, this applies to the POSPac UAV CLI QC utility.
- Each user will need access to the POSPac UAV x.x.msi, which is extracted while running the setup.exe.
- During the normal installation process, it is copied into a temporary folder of the admin user and deleted directly after the installation.
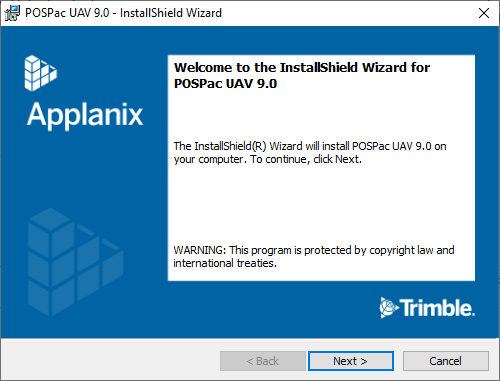
- After all additional prerequisite programs are installed a new installation window appears (Figure 1) and the .msi file is extracted. Do not click on next, perform following steps first.
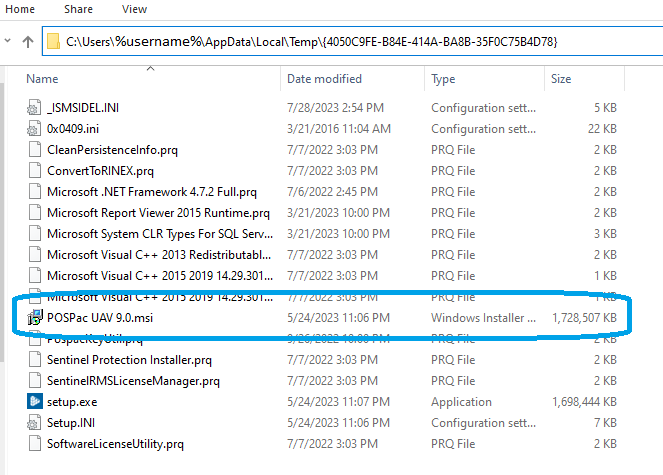
- In Windows File Explorer, open the temp folder of the current ADMIN user using %Temp% to open the typical C:\User\%username%\AppData\Local\Temp
- Then, search for the {folder} which contains the msi (Figure 2) and copy it to an accessible folder open to all users on the machine, such as c:\temp.
- Once you have the msi copied, cancel the currently running installation.
- Then, continue and complete the installation using the msi from the accessible folder.
- For every user:
- Login to the machine as each user, not the admin.
- Open POSPac UAV and select New Default Project to compete the process.