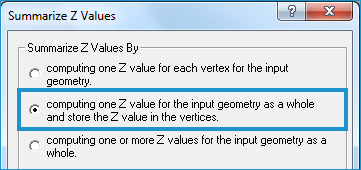
About computing one Z value for the input geometry as a whole and storing the Z value in the vertices
The Summarize Z Values dialog allows you to customize how Z values are calculated for input geometry. Z values can be computed on a per feature or vertex basis.
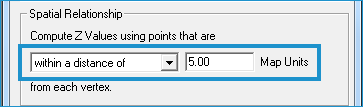
This option summarizes all of the Z values for all points within the specified distance at each vertex and computes the Mean, Minimum, or Maximum value. After the feature is complete, a final computation is made for Z and this final Z value is stored on each vertex. Thus, an identical Z is stored per vertex.
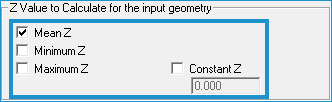
The following is the list of Z values you can calculate for the entire input geometry:
- Mean Z - The Z value is summarized within a range.
- Maximum Z and Minimum Z - All of the points within
this distance are involved in the requisite computation on a per
vertex basis.
- Constant Z - You can assign an elevation by keying in a specific Z value.
Example of using the "summarize and store z" option
Surface Z calculated for each vertex of the input geometry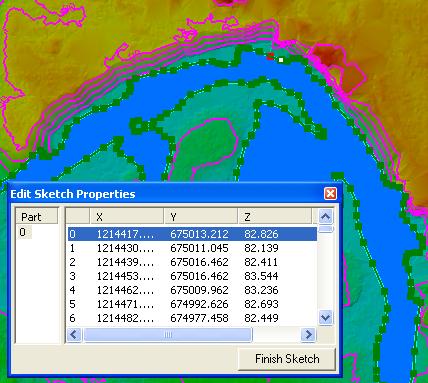
How to Open the Summarize Z Values Dialog
The Calculate Z by Vertex option is selected on the Summarize
Z Values dialog box. There are three situations in
which you will encounter this dialog:
(1) When setting
up an elevation conflation task, you begin by using the Elevation
Conflation/Classify dialog box, opened using the  button on the LP360 Classify toolbar. Once you select
the Layer or Data Set and then
the features (in the Fields drop-down) to use
to use in the conflation, you will select a Conflation
Method for each listed feature in the Data Types
table.
button on the LP360 Classify toolbar. Once you select
the Layer or Data Set and then
the features (in the Fields drop-down) to use
to use in the conflation, you will select a Conflation
Method for each listed feature in the Data Types
table.
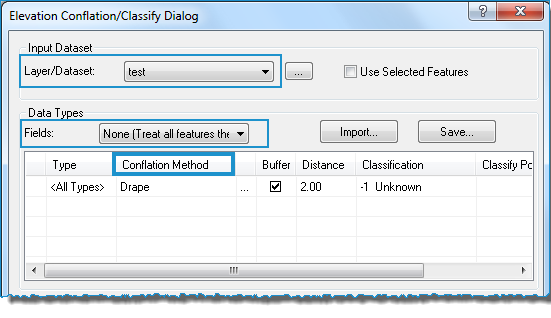
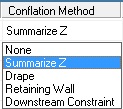
To select the conflation method, click on the cell under Conflation Method in the table next to one of the listed features. Another drop-down list will allow you to select a conflation method.

Select Summarize Z. The Summarize Z Values dialog will open.
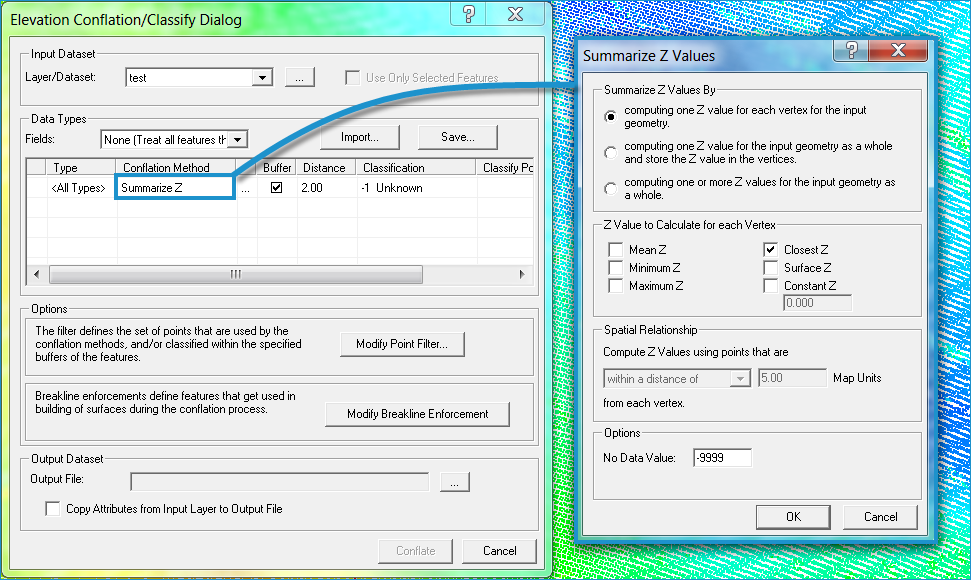
(2) When
digitizing features in LP360, you will likely have the LP360 Digitize
Breaklines toolbar open, and from this, you can manage conflation
tasks using the Conflate Tasks Manager. (It opens
using the  button on the LP360 Digitize
Breaklines toolbar.)
button on the LP360 Digitize
Breaklines toolbar.)

When you select a task in the Conflate Tasks Manager dialog box and then click the Edit Task button, the LP360 Conflate Task dialog opens, allowing you to further define a conflation task, including the Conflation Method.
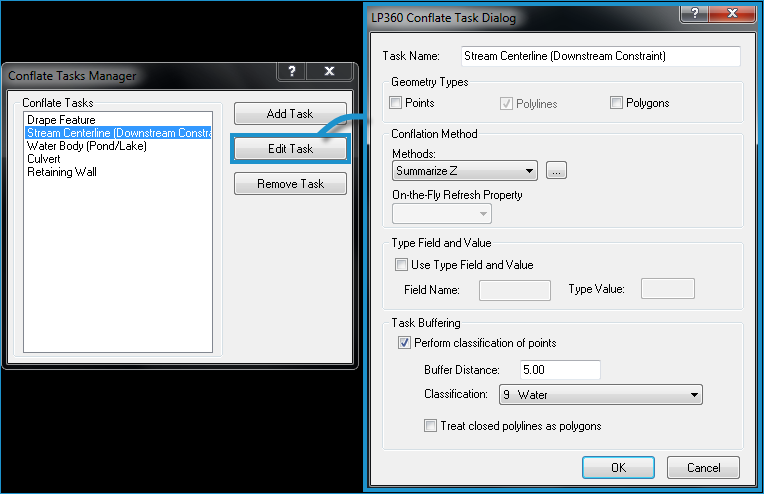
In the Conflation
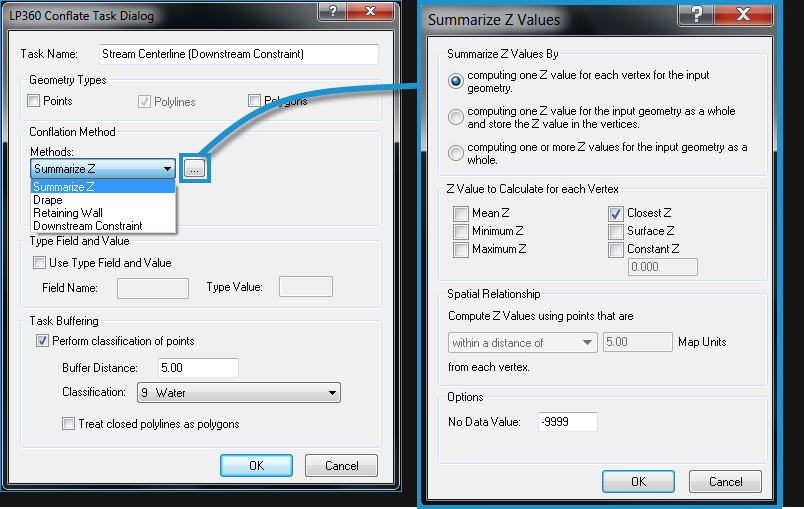
Method drop-down, select Summarize
Z and then click the  button. The Summarize Z Values
dialog will open.
button. The Summarize Z Values
dialog will open.
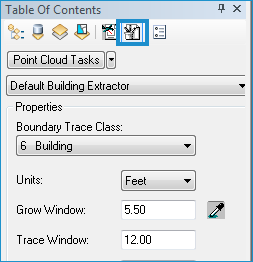 in ArcMap
or
in ArcMap
or 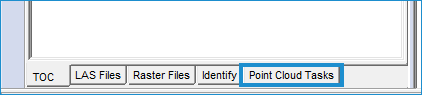 in
LP360 for Windows. In the PCT pane,
select either the Digitized Input or Input
Base from Shapefile default macro from the list of tasks.
in
LP360 for Windows. In the PCT pane,
select either the Digitized Input or Input
Base from Shapefile default macro from the list of tasks.
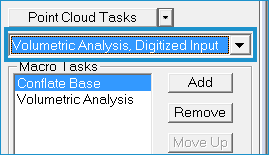
For either Volumetric Analysis task, you will specify a Conflation Method for the base polygon properties.
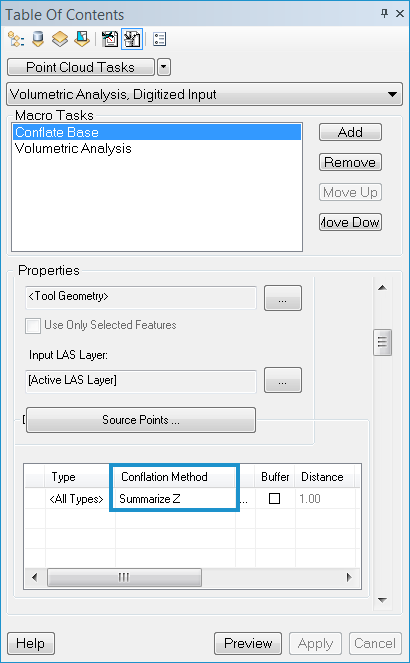
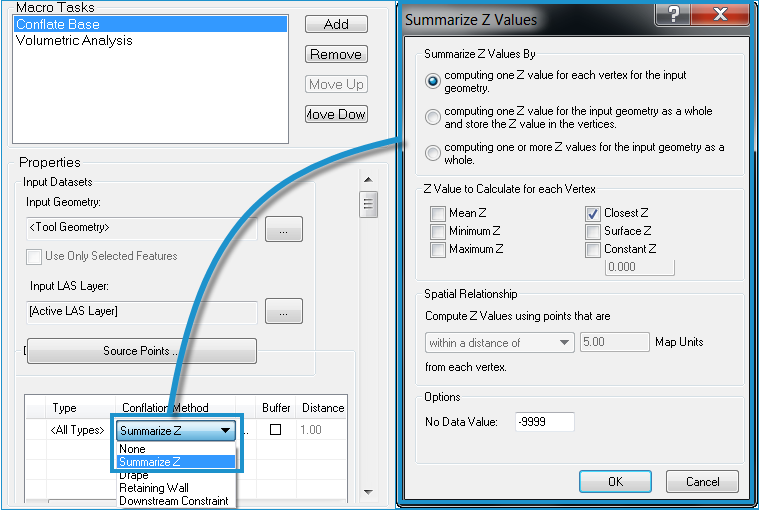
(3) When selecting "Summarize Z Values" from the Conflation Method drop-down list in the Conflation Point Cloud Task property page.