This guide provides step-by-step instructions to securely mount TrueView sensors to the Freefly Alta X Gen 2 drone, including payload, damping, and antenna installation. Follow these steps to ensure optimal performance and safety.
Smart dovetail adapter
The Alta X Gen 2 has two options for payloads with the smart dovetail adapter.
Payload compatibility
The front smart dovetail adapter is provided by Freefly. It is included with the Alta X Gen 2.
- Compatible with TrueView payloads with smart dovetail
- Weight limit is 1.5kg
This adapter requires a Trueview antenna mount (see Antenna section).
Installation
Installation documentation for this mount is available on Freefly’s knowledge base.
https://docs.freeflysystems.com/alta-x-gen2/maintenance/rails-and-isolator
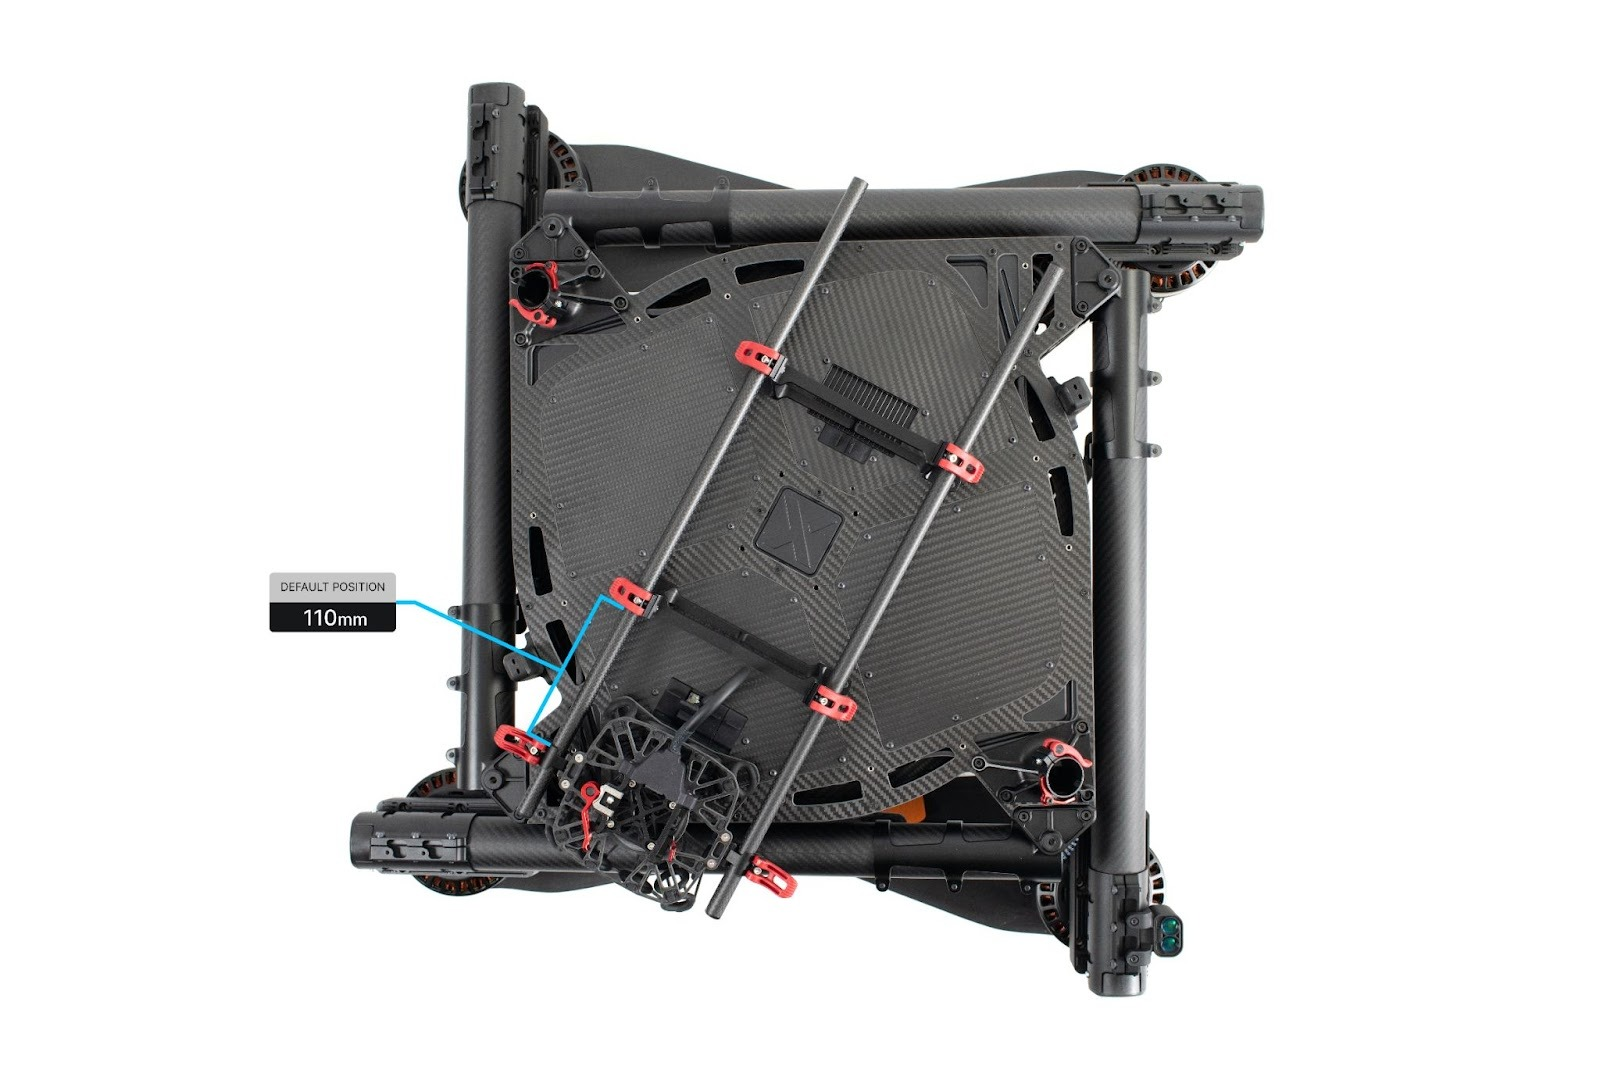
TrueView sensors use the default position for the front smart dovetail adapter.
| Part number : MNT1002362A00T (Antenna mount included in this kit) |
Payload compatibility
The Trueview smart dovetail adapter is compatible with all TrueView payloads equipped with smart dovetail.
Included components
- Trueview smart dovetail adapter
- Alta X Antenna mount
- Antenna (included with payload)
- Alta X battery stopper (2)
- Coaxial cable SMB straight jack (female) to SMA straight Jack (female)
- M3 x 6mm button head screws (4)
Required tools
- 2.5mm hex screwdriver
- 243 Medium Strength Tread Locker (Loctite)
Adapter Installation
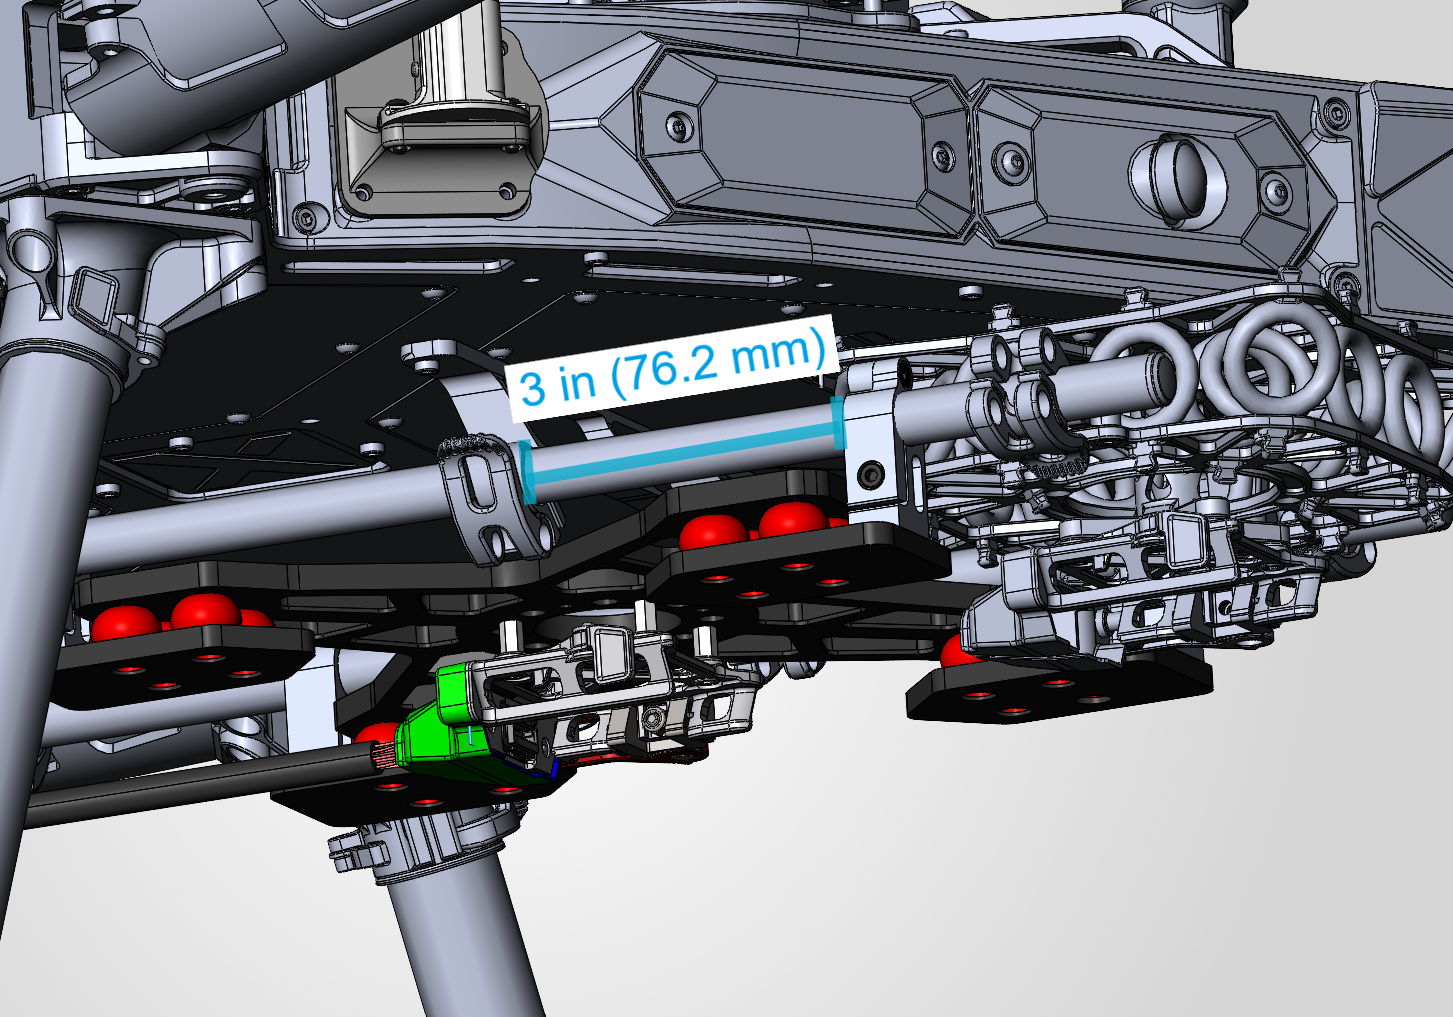
1. Slide the adapter onto the 12mm tubemounts on the Alta X.
2. Position the adapter so the front two tube mount clamps are 3 inches (76.2mm) apart. Secures the screws with Loctite.
3. Plug the smart dovetail power cable (see Payload power section).
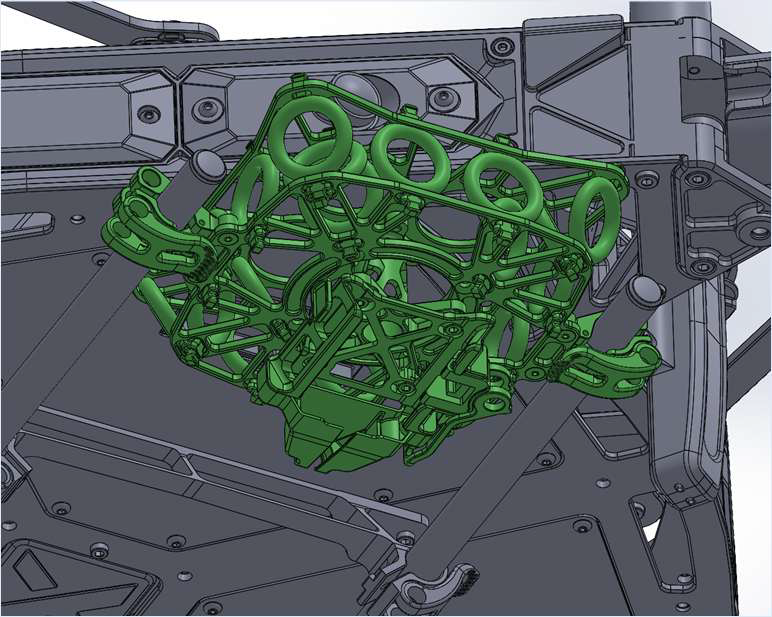
PLI Payload adapter
| Part number : FTV1002361A00T (Antenna mount included in this kit) |
Payload compatibility
All Trueview payloads equipped with a PLI-type adapter (4 pegs).
Included components
- Front Handle Payload Interface (PLI) mount
- Alta X Antenna mount
- Antenna (included with payload)
- Coaxial cable SMB straight jack (female) to SMA straight Jack (female)
- Alta X battery stopper (2)
- M3 x 6mm button head screws (4)
- 10″ steel safety wire
Required tools
- 2.5mm hex screwdriver
- 243 Medium Strength Tread Locker (Loctite)
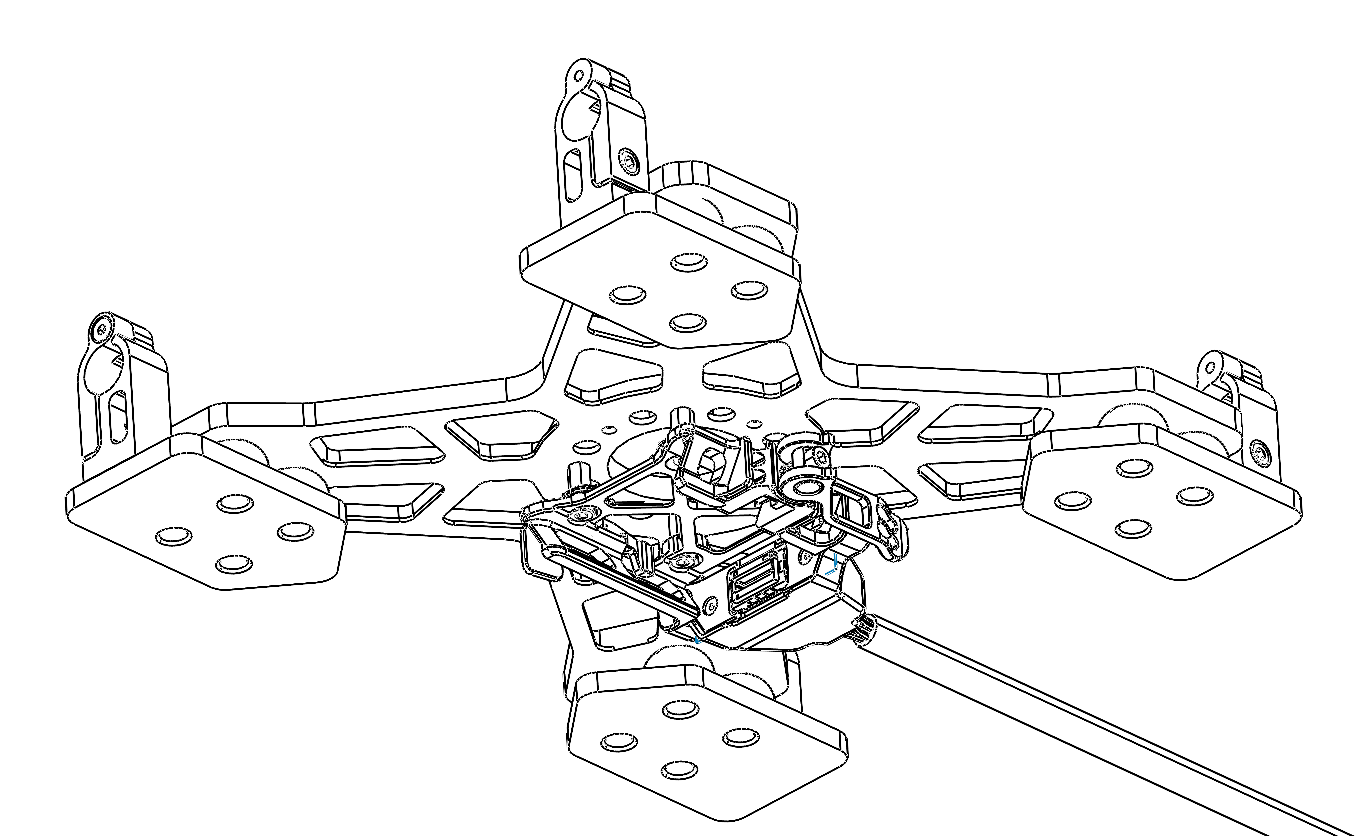
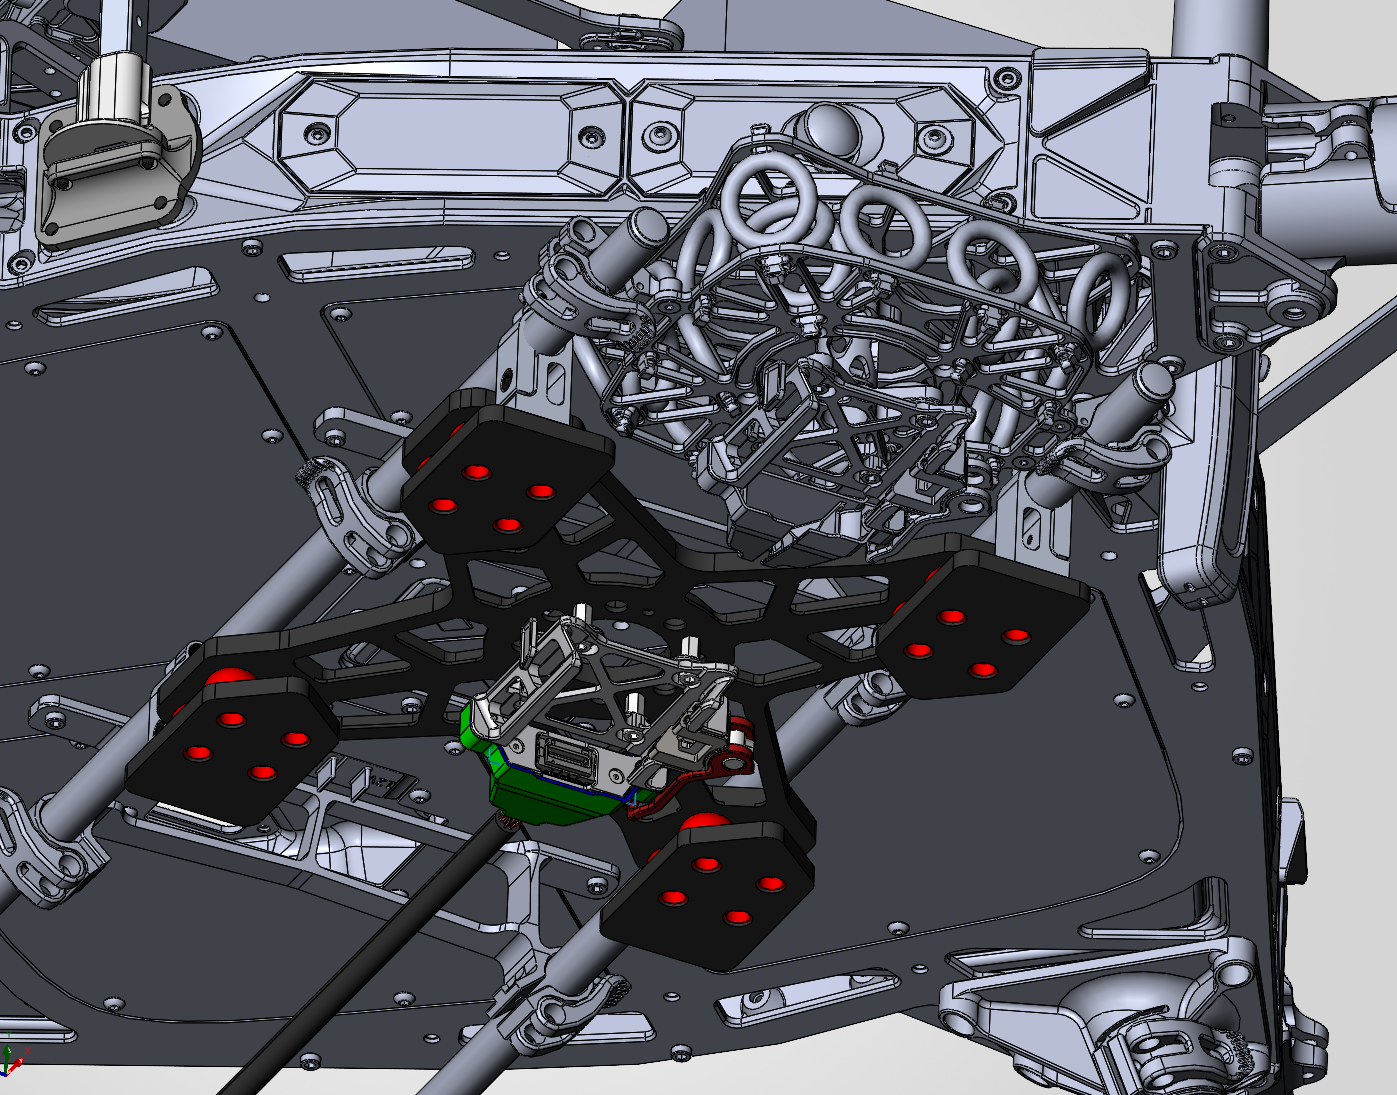
Installing the Payload Adapter
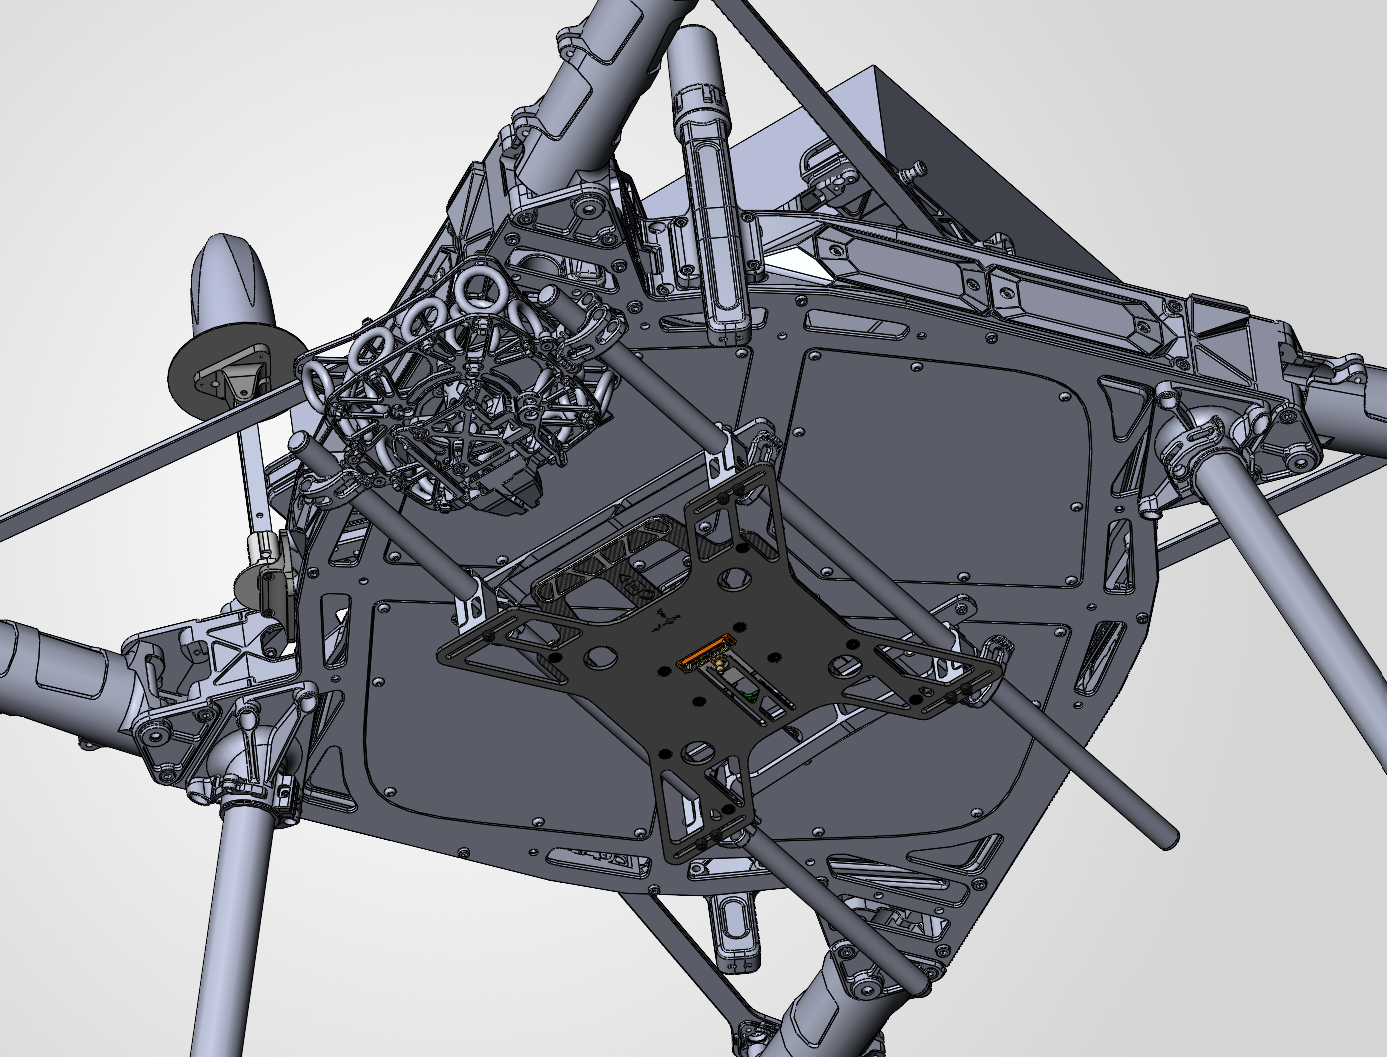
1 . Open the rail clips on the Front-handle PLI mount.
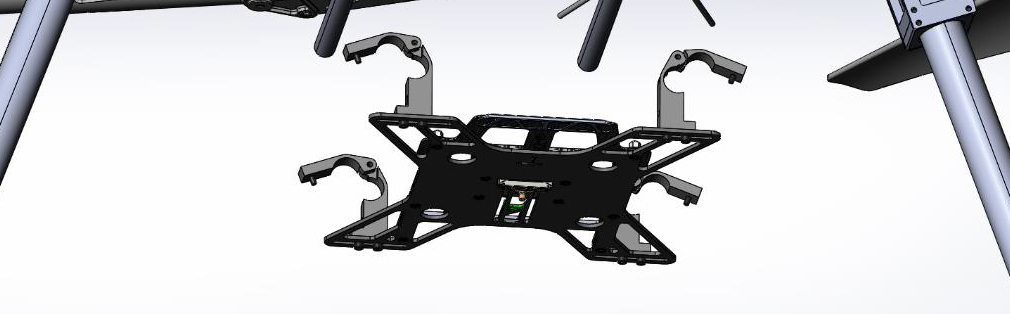
2. Close the rail clips on the 12mm parallel rails. Secure the 4x M3 screw with one drop of 243 medium strength thread locker. The handle must face towards the front of the drone.
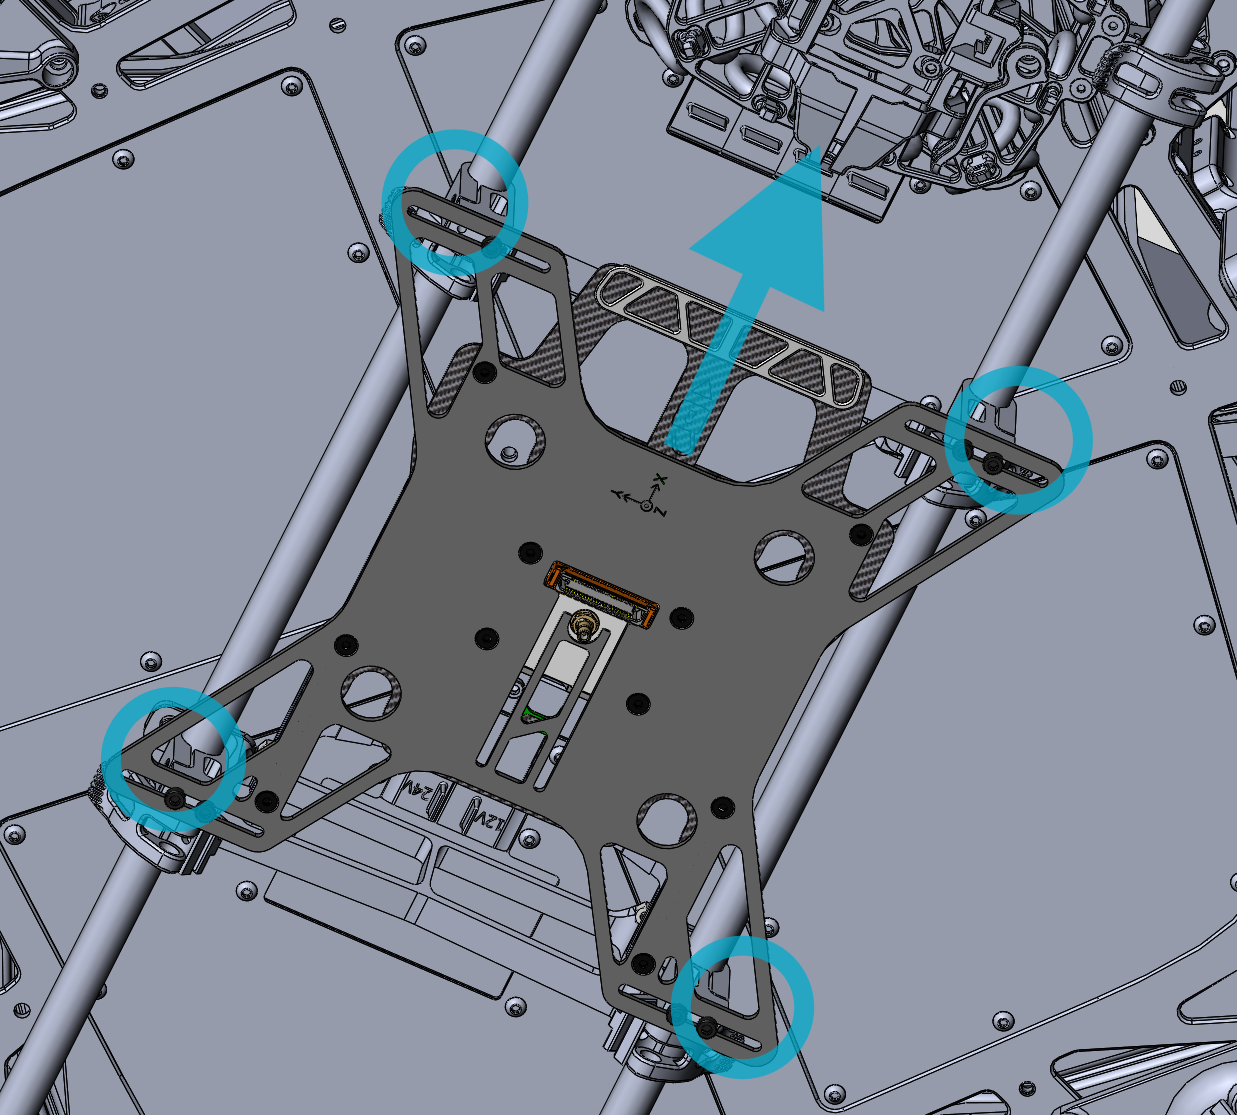
The front clips must be aligned with the front rail clamps, as illustrated below.
3. Route the coaxial antenna cable from the antenna to the PLI adapter.
4. Connect the payload power (see Power connection section).
5. Insert the payload into the PLI adapter. Lock the sliding handle on the 4 pegs.
Payload power connection
On the Alta X Gen 2, power delivery from the drone depends on your adapter type.
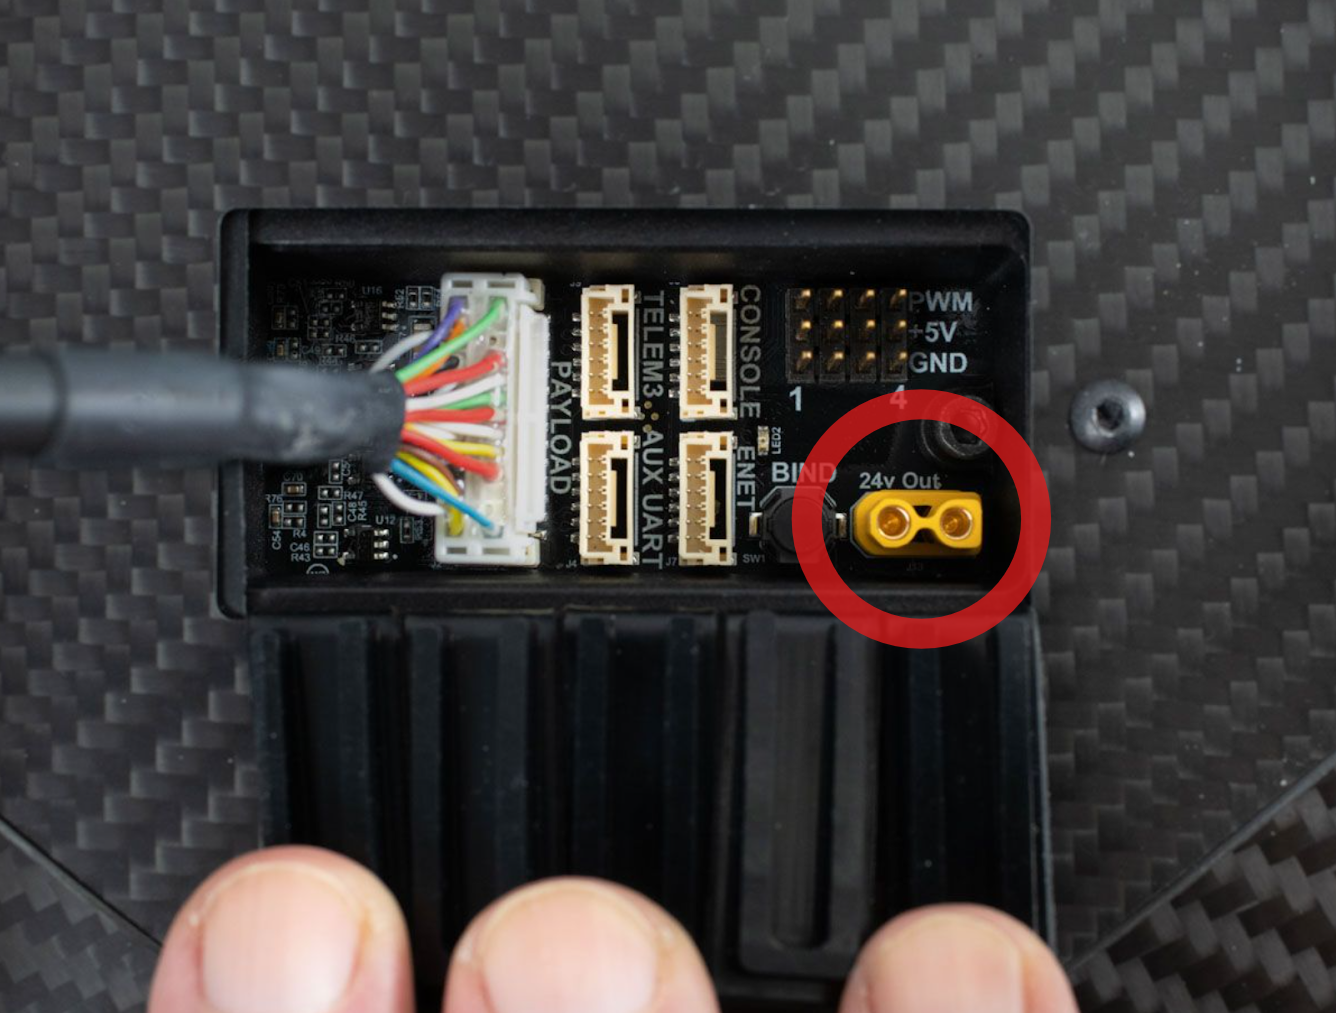
With the smart dovetail adapter, plug your cable in the PAYLOAD connector, in the panel at the front of the drone.

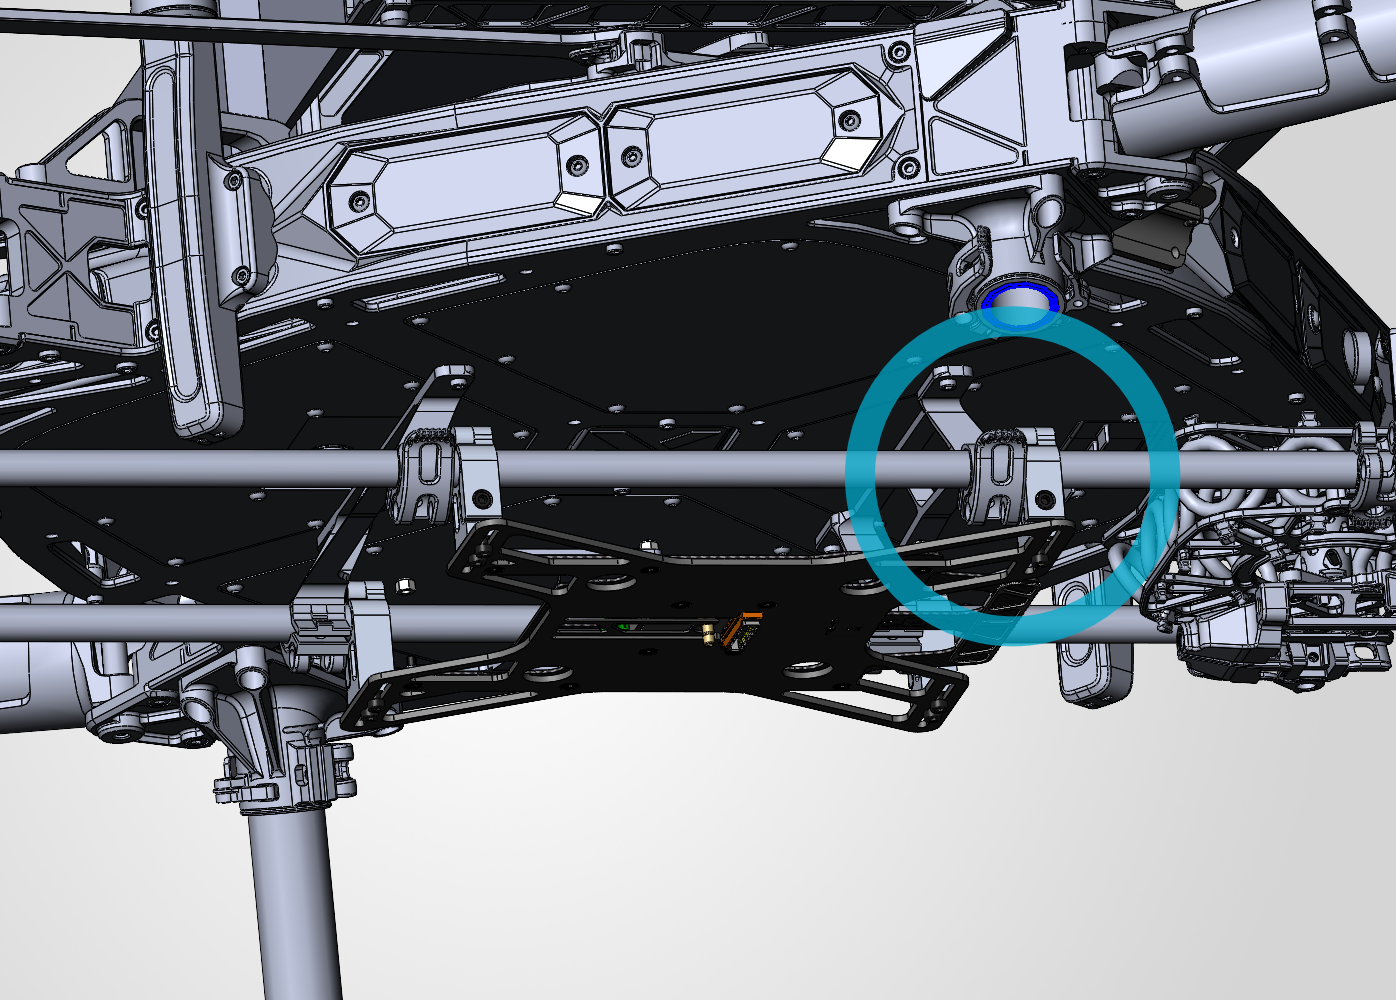
The PLI adapter plugs into either one of the two 24V XT30 connectors on the Alta X Gen 2.
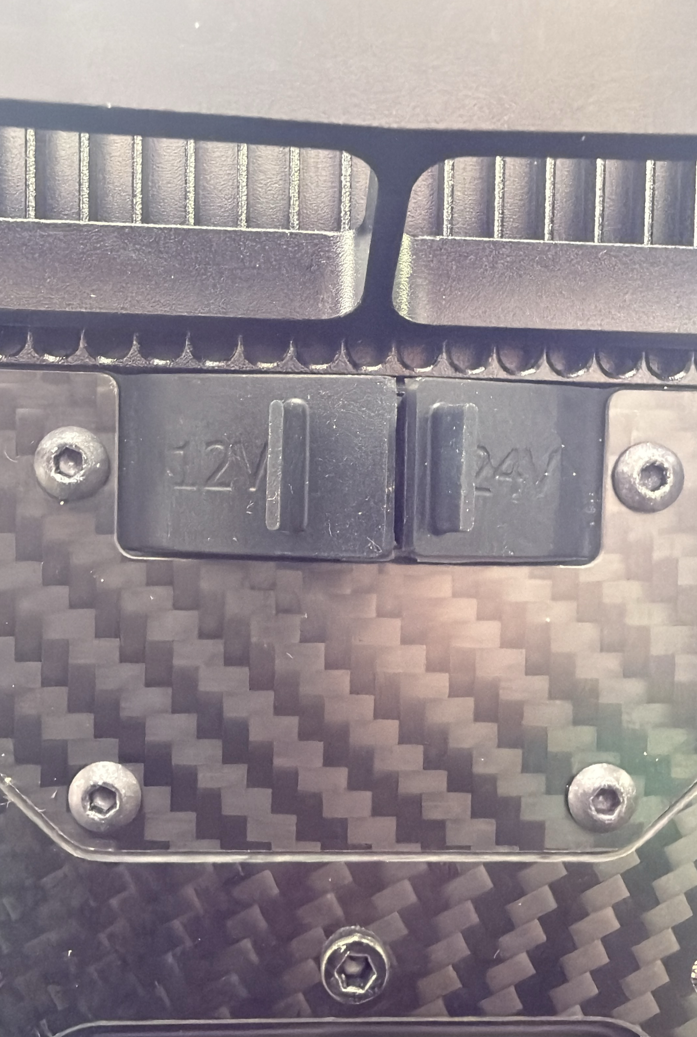
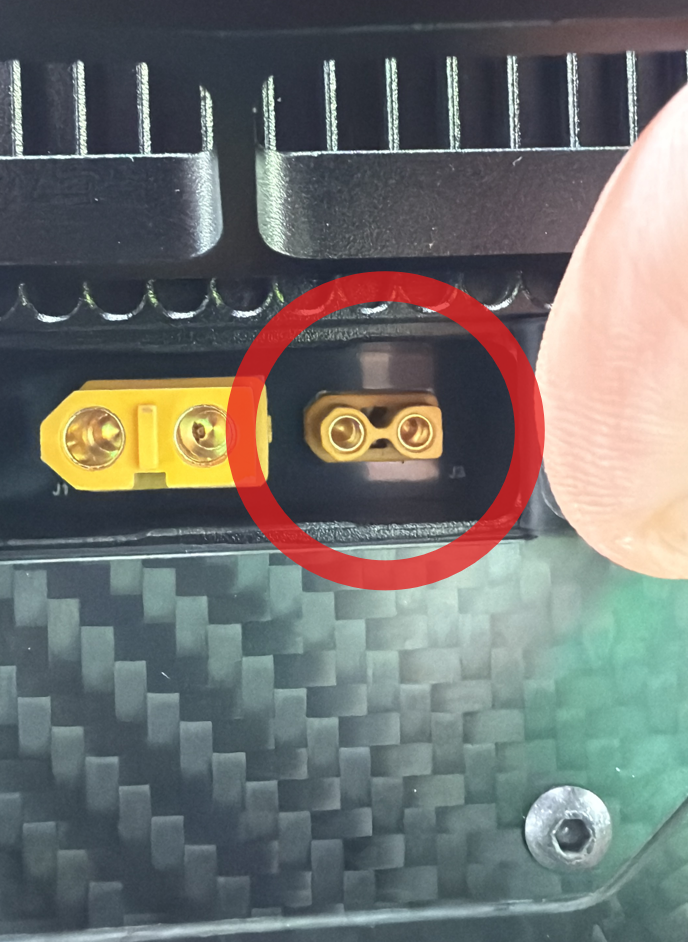
Back panel 24V output
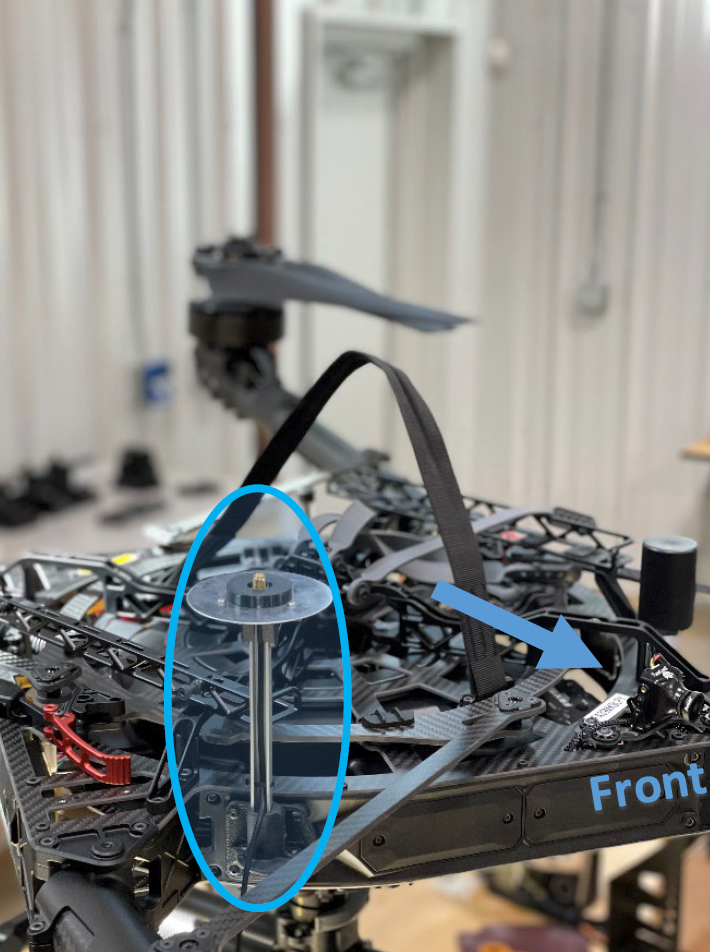
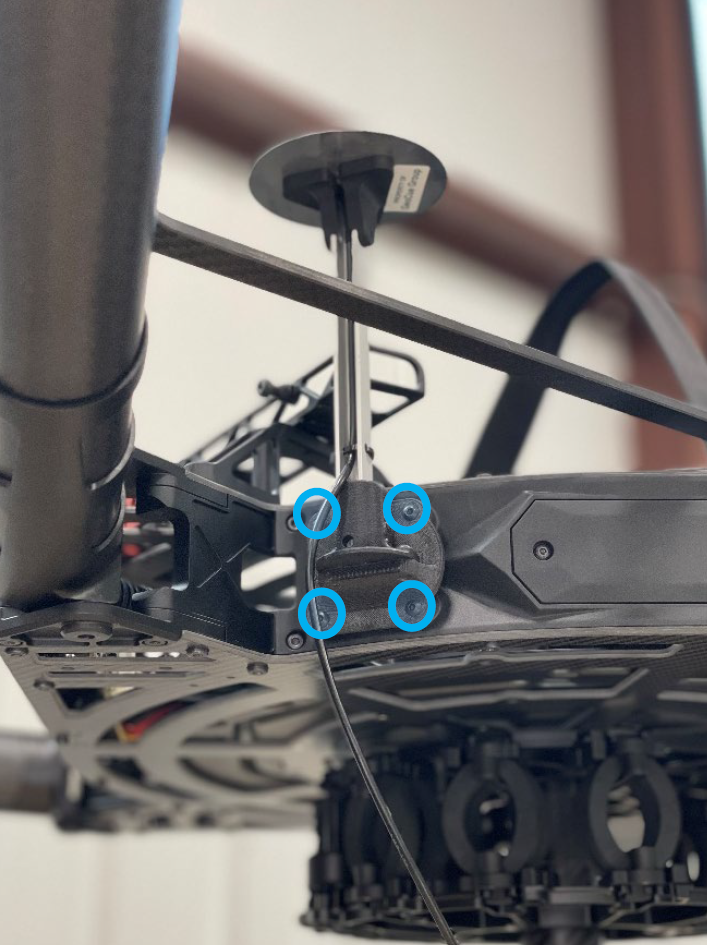
Antenna Mount Installation
| Part number : MNT1002271A00T (Only required if your adapter kit does not already have an antenna mount) |
1. Install the Alta X GNSS Mast body mount with four M3 x 10mm button head screws to the forward starboard corner of the airframe, opposite the airframe’s antenna.
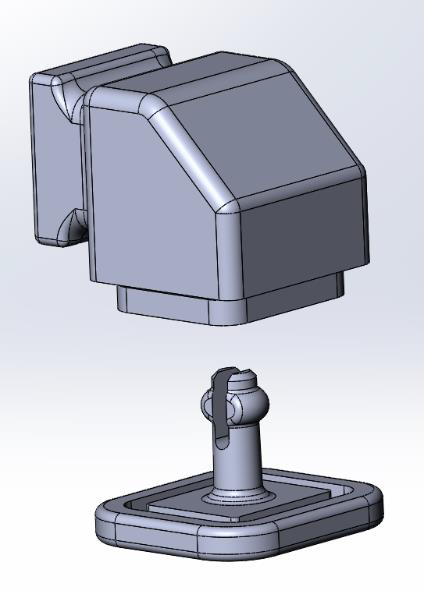
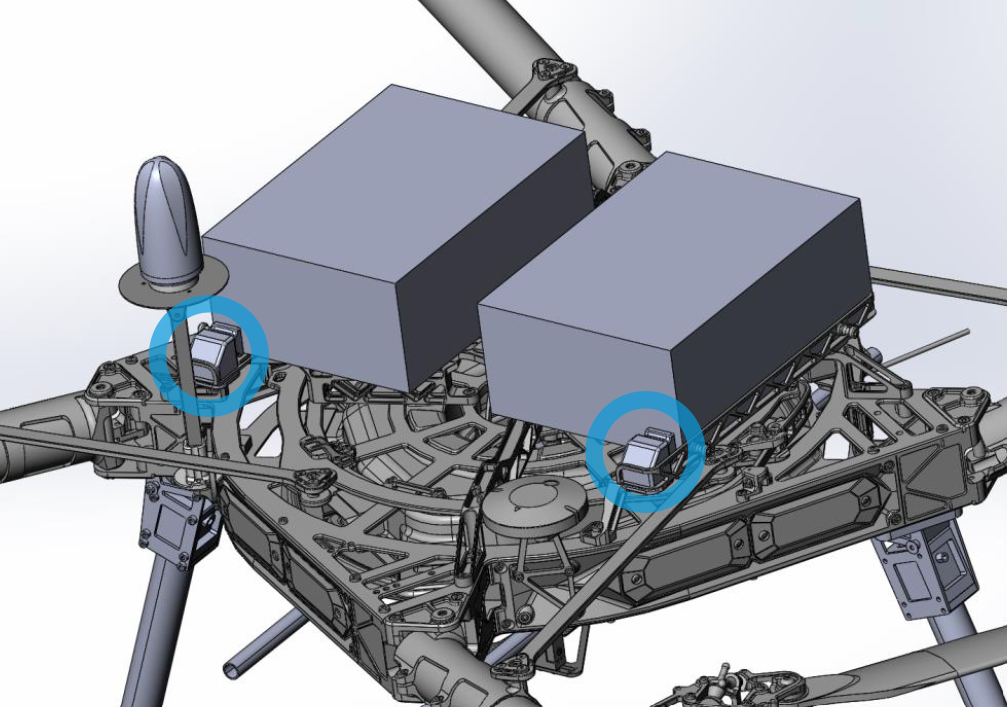
To prevent accidental damage to the payload’s GNSS antenna mast, GeoCue provides a battery shim preventing movement of the Alta X’s battery during flight.
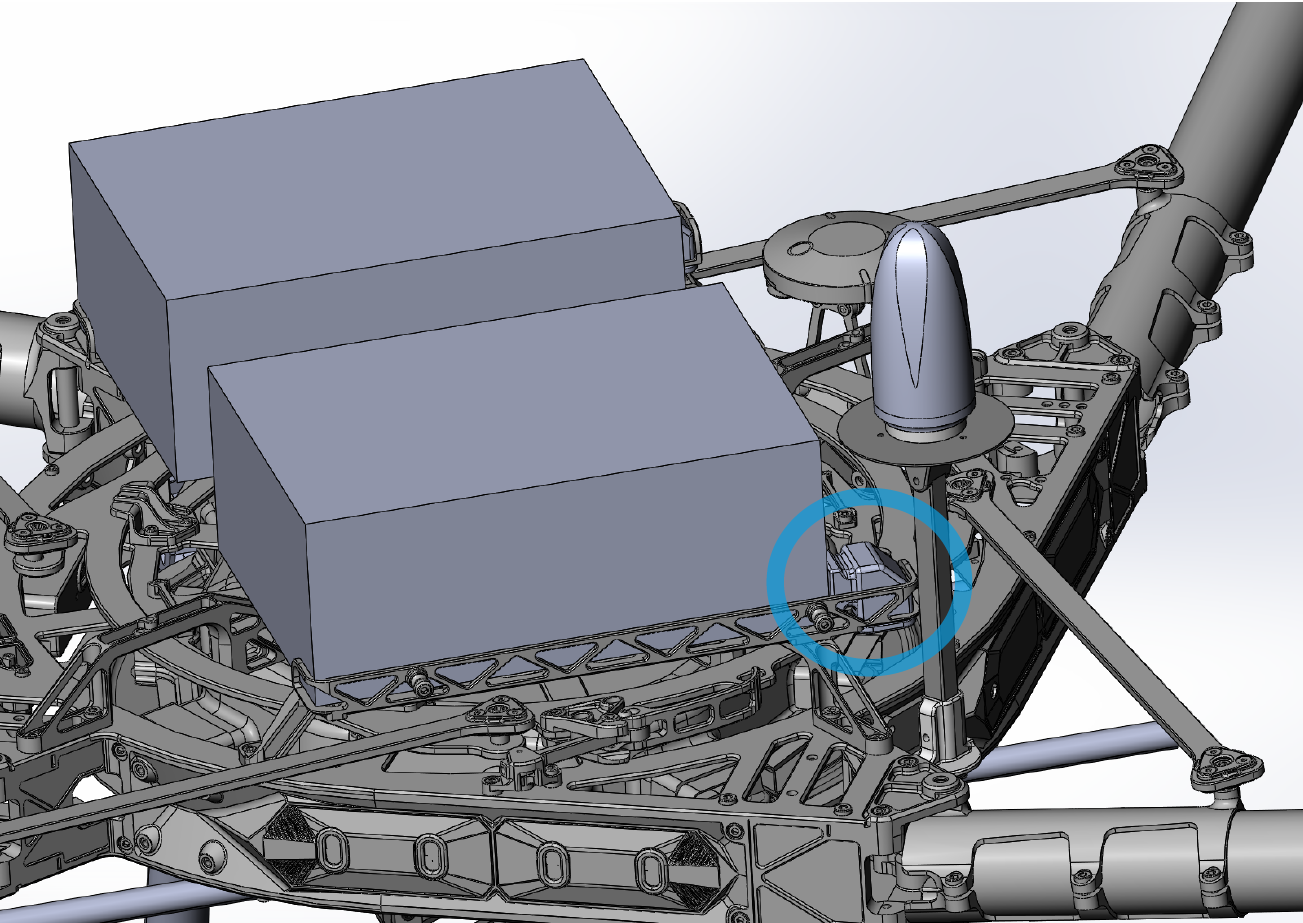
1. The battery shim comes with a top and bottom portion.
2. Install the top portion in the battery rack, behind the GNSS antenna.
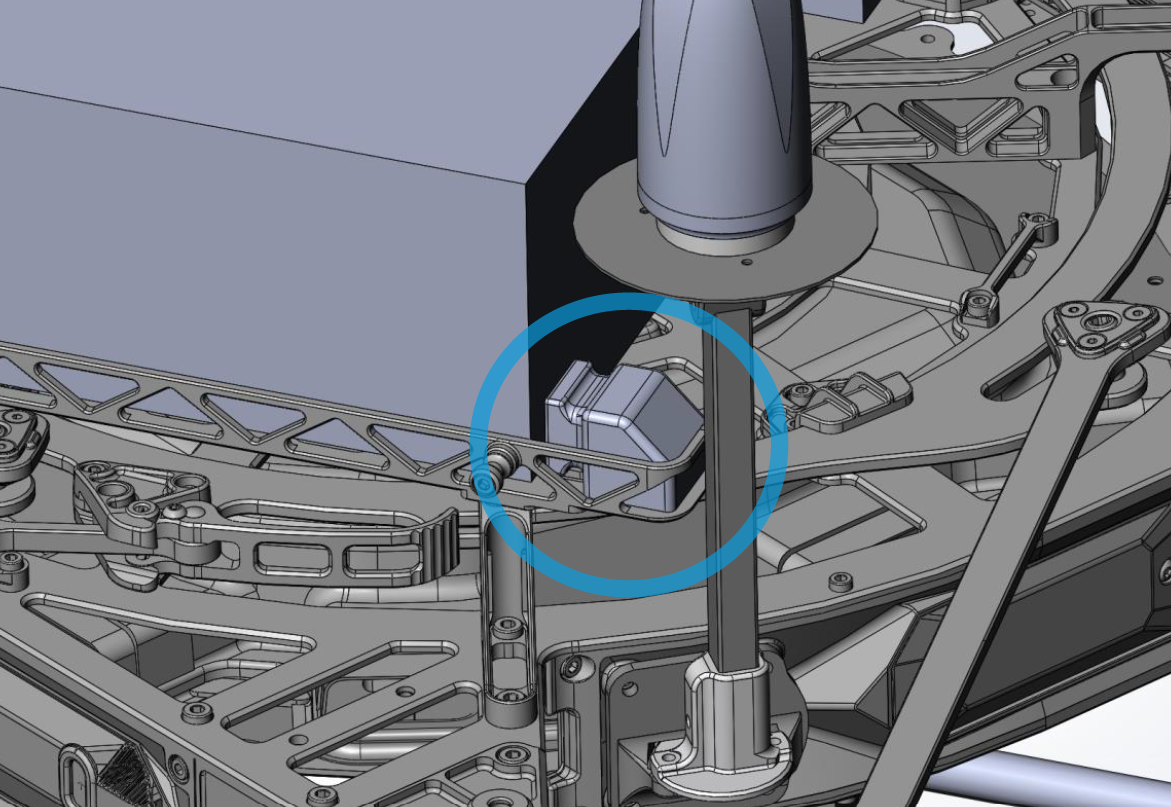
3. Push in the bottom portion from underneath the battery rack.
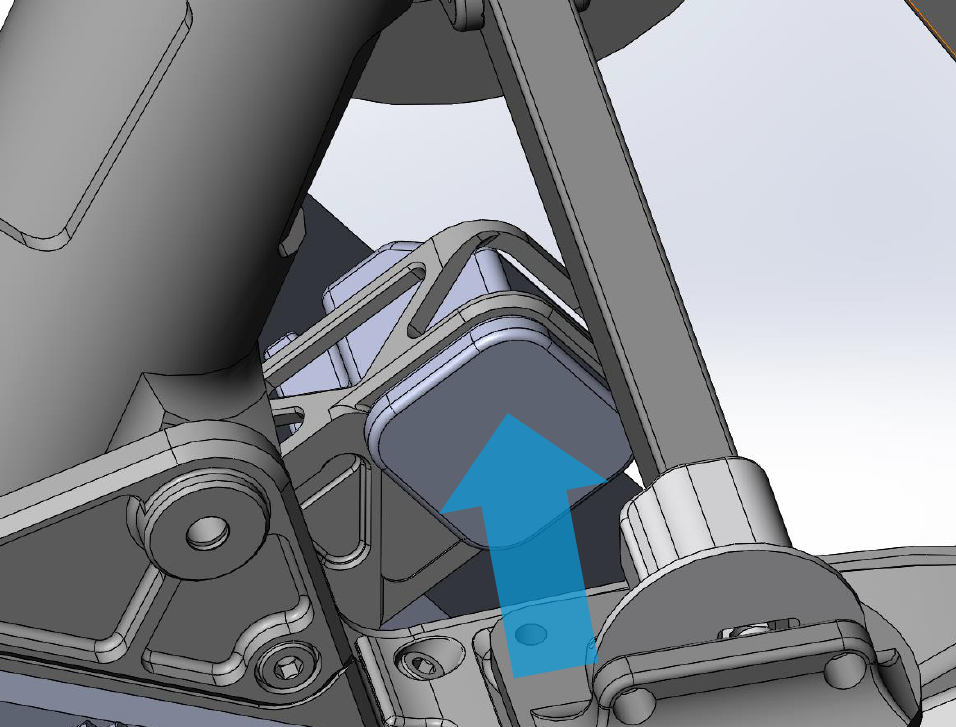
4. Repeat the same steps for the other side of the battery rack.
Payload Profiles
For information on payload lever arms and profiles, please consult the following article :
Support
For troubleshooting how to mount your TrueView on an Alta X Gen 2, error messages, or additional workflow information, please Contact Support for assistance. Include your contact info, company name, product/version, and model/serial number for faster service.
