This article explains how to format the hard drives of the TV540.
1. Problem:
The reformatting may be needed because:
- TV540 memory is almost full and needs to be empty
- The TV540 data copy tool does not recognize the sensor
- The sensor hard drive can not be accessed
- The sensor has images that can not be found by the data copy tool
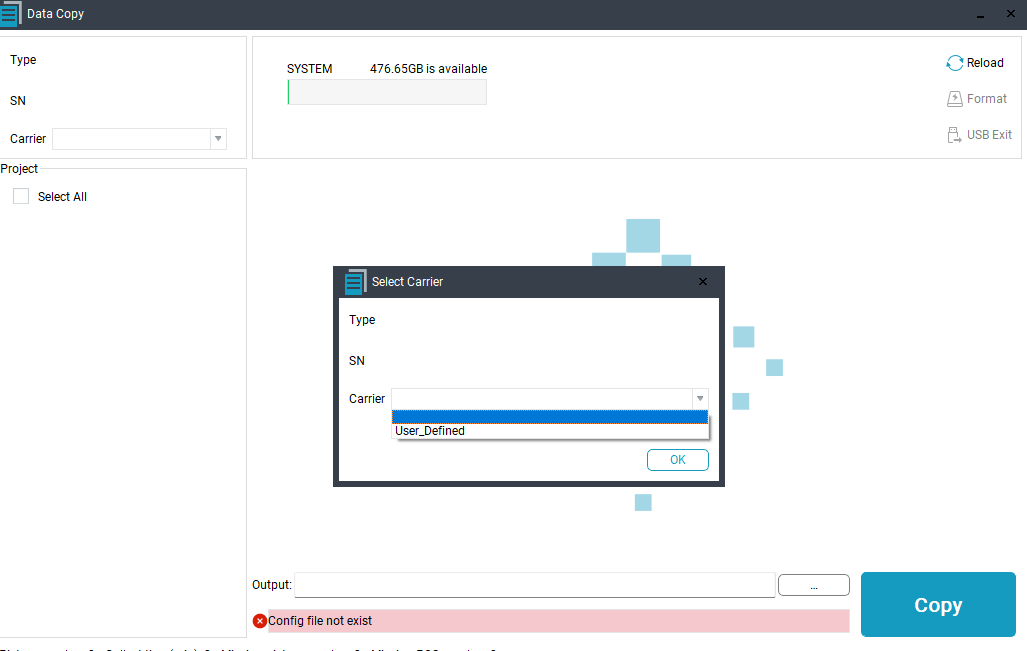
2. Formatting using LP360
1- Open LP360 as an administrator
2- Go to sensor ribbon–>TV540 Data Copy Tool
3- Click on the icon “Format”
4- More details available in TV540 Users Guide –> 7.2.1 Disk Format (Clearing Storage Space)
5- After finishing the format, perform a quick flight with the sensor to initialize the folders structure
6- You can resume working with the TV540
Note: If you do not perform a flight, you may encounter a problem where the Data Copy tool does not recognize the carrier.
3. Formatting using Windows
In case it is not possible to format the TV540 using the Data Copy Tool, then we can perform the format using windows.
1- Go to windows –> This PC
2- There are 2 hard drives related to the TV540 disk–> “ALPHA_SYS” and “ALPHA_CAM”

3- Select one of the hard drives –> Right click –> Format –> Make sure to keep the correct name for each hard drive (ALPHA_SYS” and “ALPHA_CAM”)
4- Check that the hard drives have the correct name after formatting
5- Go to the TV540 storage box –> Get a USB pen drive–> Connect to the computer and copy the 2 calibration files (.epx file and .cpx file)
6- Create a folder inside ALPHA_SYS–> EPX add inside the .epx file.
7- Create a folder inside ALPHA_SYS–> CPX add inside the .cpx file
8- Create a folder inside ALPHA_CAM –> Data
9- Create another folder inside ALPHA_CAM –> Data –> AA10_C5
The path should look like: ALPHA_CAM (E): Data\AA10_C5
Leave these 2 folders empty.
8- Perform a quick flight with the TV540
9- Use the TV540 Data Copy Tool to download any cycle
